That dream renovation is crystal clear in your mind: a kitchen that’s the heart of your home, a spa-like bathroom retreat, or a seamless addition that finally gives your family the space it needs. But between that dream and reality stands one of the most critical decisions you’ll make — choosing the right contractor.
A great contractor will be your partner, problem-solver, and guide, transforming your vision into a beautifully built reality. A bad one can turn your dream into a nightmare of delays, shoddy workmanship, and blown budgets.
The key to a successful renovation isn’t just about finding someone who can swing a hammer; it’s about finding a true professional. Here’s your step-by-step guide to making that choice with confidence.
Step 1: Do Your Homework (Before You Even Get Quotes)
A successful renovation starts long before the first wall comes down.
- Define Your Project Scope: Be as specific as possible. Gather inspiration photos, create a rough idea of the materials you like, and outline your non-negotiable needs versus your nice-to-haves. A clear scope helps contractors provide accurate, comparable bids.
- Seek Personal Recommendations: This is gold. Ask friends, family, and neighbors whose projects you admire. Personal referrals come with built-in testimonials about the contractor’s communication, cleanliness, and reliability.
- Check Online Portfolios & Reviews: Look at contractors’ websites, Houzz profiles, and Google My Business listings. Pay attention to how they respond to both positive and negative reviews — it’s a window into their customer service.
Step 2: Create a Shortlist & Conduct Initial Screenings
Don’t just call the first name in an online ad. Build a vetted shortlist of 3-4 contractors.
- Verify Licenses and Insurance: This is non-negotiable. Ask for their state-level license number and verify it online with your local licensing board. Then, request a Certificate of Insurance (COI) that proves they carry both Liability Insurance (to protect your property if it’s damaged) and Workers’ Compensation (to protect you from being liable if a worker is injured on your property).
- Look for Specialized Experience: A contractor who primarily builds new homes might not be the best fit for an intricate historic renovation. Ask how many projects like yours they’ve completed in the last year.
Step 3: The Interview & Bidding Process (It’s More Than Just Price)
Now, meet your top candidates in person, ideally at your home for a walk-through. This meeting is as much for you to judge them as it is for them to see the project.
Your Interview Questions Checklist:
- “How many projects like mine are you currently running?”
- “Who will be my main point of contact and the foreman on-site?”
- “Can you walk me through your process for handling unforeseen issues or change orders?”
- “What is your anticipated timeline for a project of this scope?”
- “May I have a list of references from projects completed in the last 6-12 months?”
Understanding the Bid:
When the bids come in, be wary of the one that is significantly lower than the others. This is often the biggest red flag. It can indicate inexperience, a misunderstanding of the scope, or — worst of all — a contractor who plans to cut corners or use subpar materials. The goal is to compare the value, not just the bottom line.
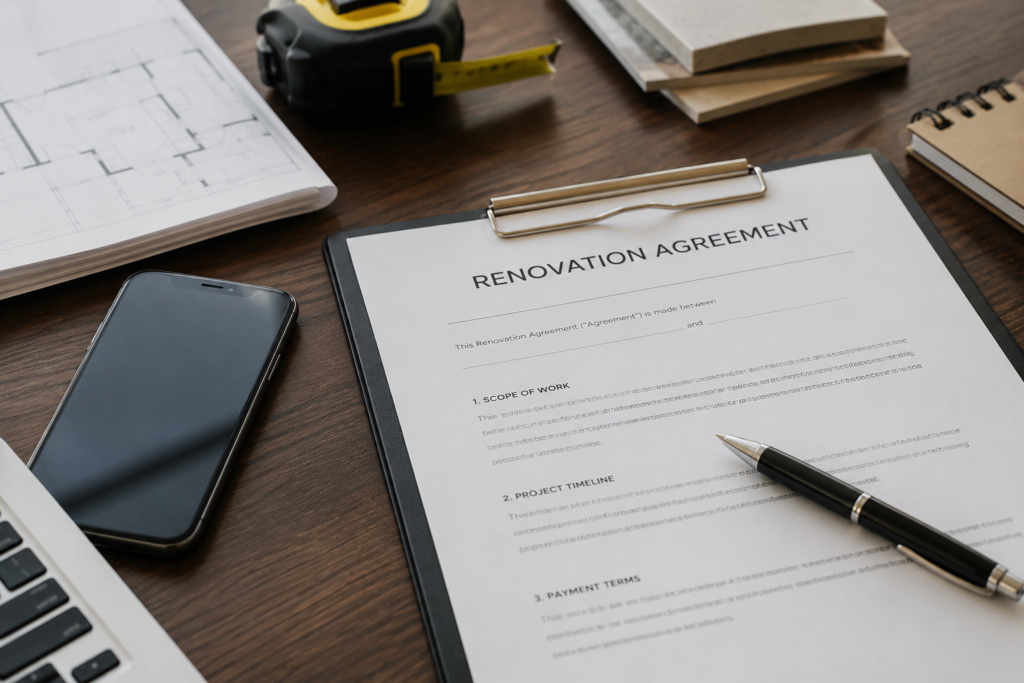
Step 4: The Devil’s in the Details: Scrutinizing the Contract
A handshake isn’t enough. Your entire agreement must be in a detailed, written contract. Do not proceed without one.
Your contract MUST include:
- Complete Project Scope: A detailed description of the work, down to the model numbers of fixtures and brand of paint.
- Payment Schedule: This should never be a large upfront sum. A typical schedule is 10% at signing, with subsequent payments tied to the completion of specific, verifiable milestones (e.g., 25% after framing inspection, 25% after drywall is hung, etc.). The final payment should only be made after you have completed a final walk-through and are fully satisfied.
- Change Order Process: This is crucial. It outlines how modifications to the original plan will be documented, priced, and approved in writing by both parties, preventing surprise bills.
- Detailed Timeline: Include a start date and a projected completion date, with an understanding that weather and unforeseen issues can cause delays.
- Lien Waiver Clause: This protects you from having a mechanic’s lien placed on your home if the contractor fails to pay their subcontractors or suppliers.
Step 5: The Final Gut Check & Reference Calls
Before you sign, do two final things.
- Call the References: Don’t just collect them — call them. Ask past clients: “Was the project completed on time and on budget?” “How was the communication?” “Would you hire this contractor again?” and most importantly, “What is one thing you wish they had done differently?”
- Trust Your Gut: You are about to invite this person into your home for weeks or months. Did they listen to you? Did they communicate clearly and respectfully? Professionalism is as much about character as it is about craftsmanship.

The Bottom Line
Choosing a contractor is your first and most important investment in your renovation. Taking the time to vet, interview, and verify might feel slow, but it is the single greatest predictor of a successful, stress-free project. By following these steps, you won’t just be hiring a contractor — you’ll be hiring a partner to help build your dream, the right way.
Ready to start your project?
Use this guide as your checklist to find a professional you can trust. For more home improvement tips and insights, be sure to subscribe to our blog
You can book an appointment with me for personalized support or schedule a discovery call if you’d like to explore how I can help.
Enjoy this blog?