When an exterior paint job fails, most homeowners assume the problem is the paint itself.
In reality, paint rarely fails on its own. Most exterior paint problems start long before the first coat is applied — during surface preparation.
As a color professional, I look at preparation as the foundation of the entire project. Even the best paint and the most beautiful color cannot perform properly if the surface underneath isn’t ready to receive it. You don’t need to be a contractor to understand this — but knowing what should happen helps you make better decisions, whether you plan to DIY or hire a professional painter.
Why Surface Prep Matters More Than Paint Brand
Paint is designed to bond to a surface. If that surface is dirty, unstable, or compromised, the paint has nothing solid to hold onto.
Poor preparation can lead to:
- Peeling or flaking
- Uneven sheen
- Premature fading
- Bubbling or blistering
- Shortened lifespan of the paint job
This is why two homes painted with the same product can have very different outcome
Step One: Cleaning the Surface
Before any sanding or painting begins, exterior surfaces must be clean.
This typically includes:
- Removing dirt, dust, pollen, and debris
- Eliminating mildew or algae growth
- Washing away chalky residue from old paint
A clean surface allows paint to adhere properly and evenly. Painting over dirt or mildew doesn’t save time — it shortens the life of the paint job.
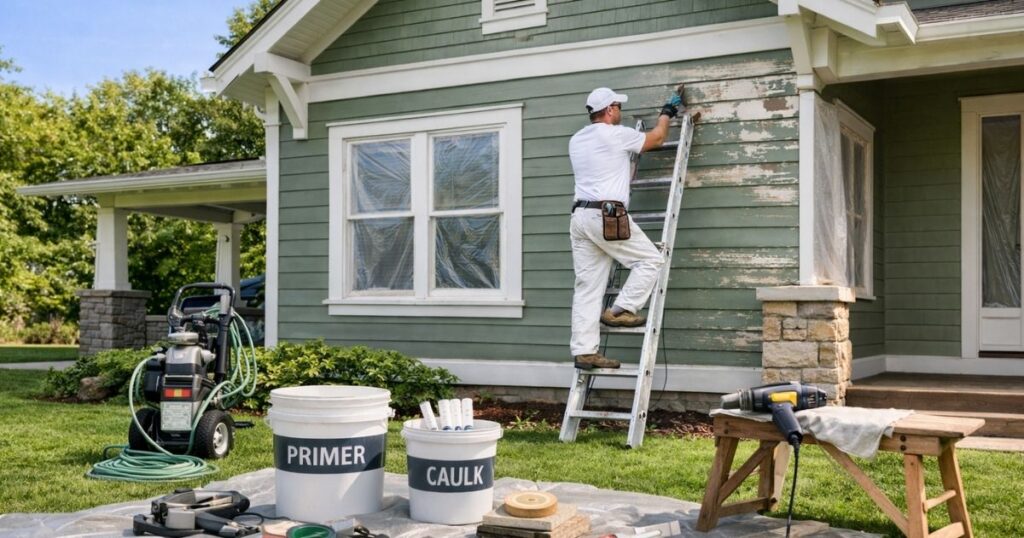
Removing What’s Failing — Not Just Painting Over It
One of the biggest mistakes homeowners see (and sometimes don’t realize is happening) is paint being applied over failing layers.
Proper preparation means:
- Scraping loose or peeling paint
- Sanding rough or uneven edges
- Creating a smooth transition between old and exposed areas
Painting over peeling paint doesn’t “seal it in.” It simply hides the problem temporarily — and the new paint will eventually fail right along with it.
Sanding Isn’t About Perfection — It’s About Adhesion
Sanding is not meant to make a house look flawless before painting. Its purpose is to:
- Remove remaining loose particles
- Smooth transitions between surfaces
- Help primer and paint grip the surface properly
A well-sanded surface gives paint something to hold onto — which directly impacts durability.
Caulking: Small Detail, Big Impact
Caulking is another critical preparation step that’s often misunderstood.
Proper caulking helps:
- Seal gaps where water can enter
- Prevent moisture damage behind the paint
- Create clean, finished lines around trim
However, not everything should be caulked. Certain gaps allow for natural movement or drainage, and sealing them can cause more harm than good.
This is where experience matters — and why asking your painter what they plan to caulk (and why) is a smart question.
Priming: Not Optional in the Right Situations
Primer is part of preparation — not an extra step.
Primer is necessary when:
- Bare wood or raw surfaces are exposed
- Areas have been repaired or patched
- Stains or tannins may bleed through
- You’re making a significant color change
Primer creates a uniform, stable base so the paint color can appear even and perform correctly. Skipping primer often leads to uneven color, blotchiness, or early failure.
Why “Quick Prep” Usually Costs More in the Long Run
It’s understandable to want a project finished quickly. But with exterior painting, rushing preparation often leads to:
- More frequent repainting
- Higher long-term costs
- Disappointment with how the color ages
A well-prepared surface allows paint to do what it’s designed to do — protect your home and maintain its appearance over time.
What Homeowners Should Take Away
You don’t need to supervise every step of a paint job — but you should understand what good preparation looks like.
Whether you’re doing the work yourself or hiring a professional, it’s reasonable to ask:
- How will the surfaces be cleaned?
- What areas will be scraped or sanded?
- Where will primer be used?
- How will gaps and joints be handled?
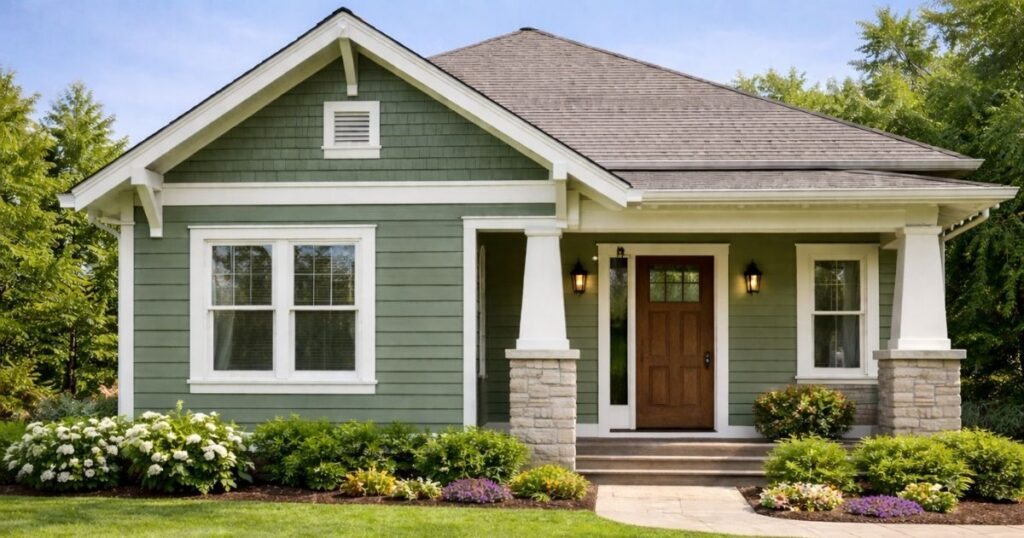
When preparation is done properly, color performs better, lasts longer, and feels more intentional — which is exactly what most homeowners want.
Paint is the visible layer, but preparation is the invisible work that determines success.
When surface prep is done right, everything that follows — from product performance to color confidence — improves dramatically.
Is your home truly aligned with its environment?
Color is more than a decorative choice—it is a biological tool that can turn a flat space into a restorative sanctuary. If you are ready to move beyond trend-driven paint colors, our new eBook, “Nature-Derived Architectural Palettes,” provides the professional framework you need. Learn how to master the five signature styles that bring the enduring calm of the natural world into your home.

You can explore the Nature-Derived Architectural Palettes Guide here!
Ready to take the next step?
You can book an appointment with me for personalized support or schedule a discovery call if you’d like to explore how I can help.
Enjoy this blog?